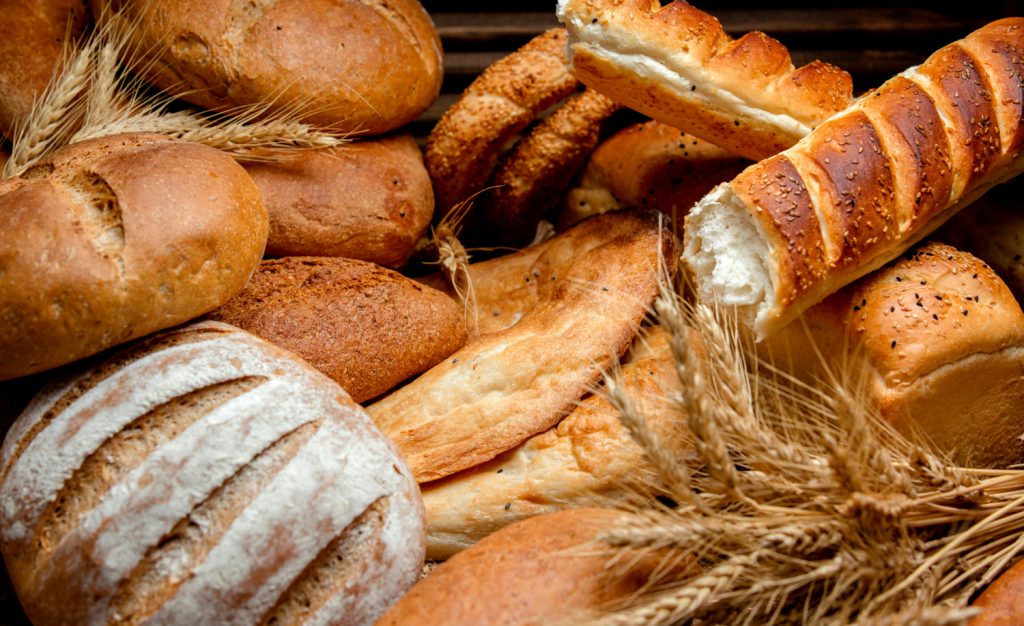
Baking your own bread at home is a delightful journey filled with aroma, warmth, and satisfaction. Imagine the satisfying experience of pulling a perfectly risen loaf from the oven, with a golden-brown crust and a soft, airy crumb. This guide will reveal the essential secrets behind baking perfect bread in your kitchen, covering everything from choosing the right ingredients to mastering techniques that ensure success. Whether you’re a novice baker or someone looking to refine your skills, you’ll find all you need to create bakery-quality bread right at home.
Understand the Essential Ingredients
Before diving into the process, it’s crucial to familiarize yourself with the core ingredients that comprise a standard bread recipe:
- Flour: The foundation of your loaf. For a tender crumb, all-purpose flour is a go-to, while bread flour produces a chewier texture.
- Yeast: This lively microorganism makes your dough rise by feeding on sugars and starches.
- Water: Essential for hydrating the flour and activating the yeast.
- Salt: Adds flavor and regulates yeast activity.
- Sugar: Fuels the yeast and aids in crust browning.
Each ingredient serves a vital role, ensuring the combination yields a perfect loaf.
Choosing the Right Flour
Your choice of flour can significantly affect the outcome of your bread. Here’s a breakdown of common flour types and their properties:
| Flour Type | Protein Content | Best For |
|---|---|---|
| All-Purpose Flour | 9-11% | Soft sandwich bread |
| Bread Flour | 11-13% | Artisan-style loaves |
| Whole Wheat Flour | 13-14% | Dense, fiber-rich bread |
Experiment with blends or substitutes, especially if you’re aiming for something a bit different!
Understanding Yeast and Its Activation
Yeast plays a crucial role in the bread-making process. Active dry yeast is the most suitable for home baking. To ensure it works effectively, follow these tips:
- Use warm water (about 110°F or 45°C).
- Add a teaspoon of sugar to nourish the yeast.
- Let it sit for about 5-10 minutes. If bubbly foam forms, you’re set!
Mixing and Kneading the Dough
Next, it’s time to bring the bread together. In a large bowl, combine your flour, salt, and activated yeast mixture. Use a wooden spoon to blend until a shaggy dough forms. Don’t worry about the mess; kneading will work its magic!
Kneading is essential as it develops gluten, which provides structure. If kneading by hand:
- Turn the dough onto a floured surface.
- Push with your palm, fold it over, and give it a turn.
- Knead for 8-10 minutes until it is smooth and elastic.
Creating the Perfect Environment for Rising
To allow your dough to thrive, place it in a lightly oiled bowl. Cover it with a towel and set it in a warm, draft-free area. Ideal spots include:
- Inside an oven with the light on (but off)
- Near a sunny window
Let it rise until it doubles in size—about 1 to 1½ hours.
Shaping and Second Proofing the Dough
Once the dough has risen, gently punch it down to eliminate excess air and turn it onto a floured surface. Shape it according to your preferred style, whether it’s a round loaf or in a pan. After this, cover again and let it rise for another 30-45 minutes.
Baking Guidelines: Oven Temperature and Timing
Preheat your oven to 375°F (190°C). Bake the loaf in the center rack for about 25-30 minutes. The final loaf should boast a golden crust and sound hollow when tapped.
Cooling and Storing the Bread
Upon removing from the oven, allow the bread to sit in the pan for 5 minutes before transferring it to a wire rack. Let it cool fully, preventing any sogginess. For storage, wrap it in plastic at room temperature for 3-4 days; for longer storage, consider slicing and freezing it.
Troubleshooting Common Baking Issues
Even the most experienced bakers face challenges now and again. Here are solutions for frequent problems:
- Dense Loaf: Could be from under-kneading; try kneading longer.
- Tough Crust: Check your baking time; overbaking can lead to this.
- Burnt Bottom: Adjust pan placement within the oven to avoid direct heat.
Creating delightful bread at home is easier than it seems; with practice and patience, you’ll master the craft. If you’re diving into the world of home baked goods, consider exploring additional resources for all your needs, such as Mexico Market.